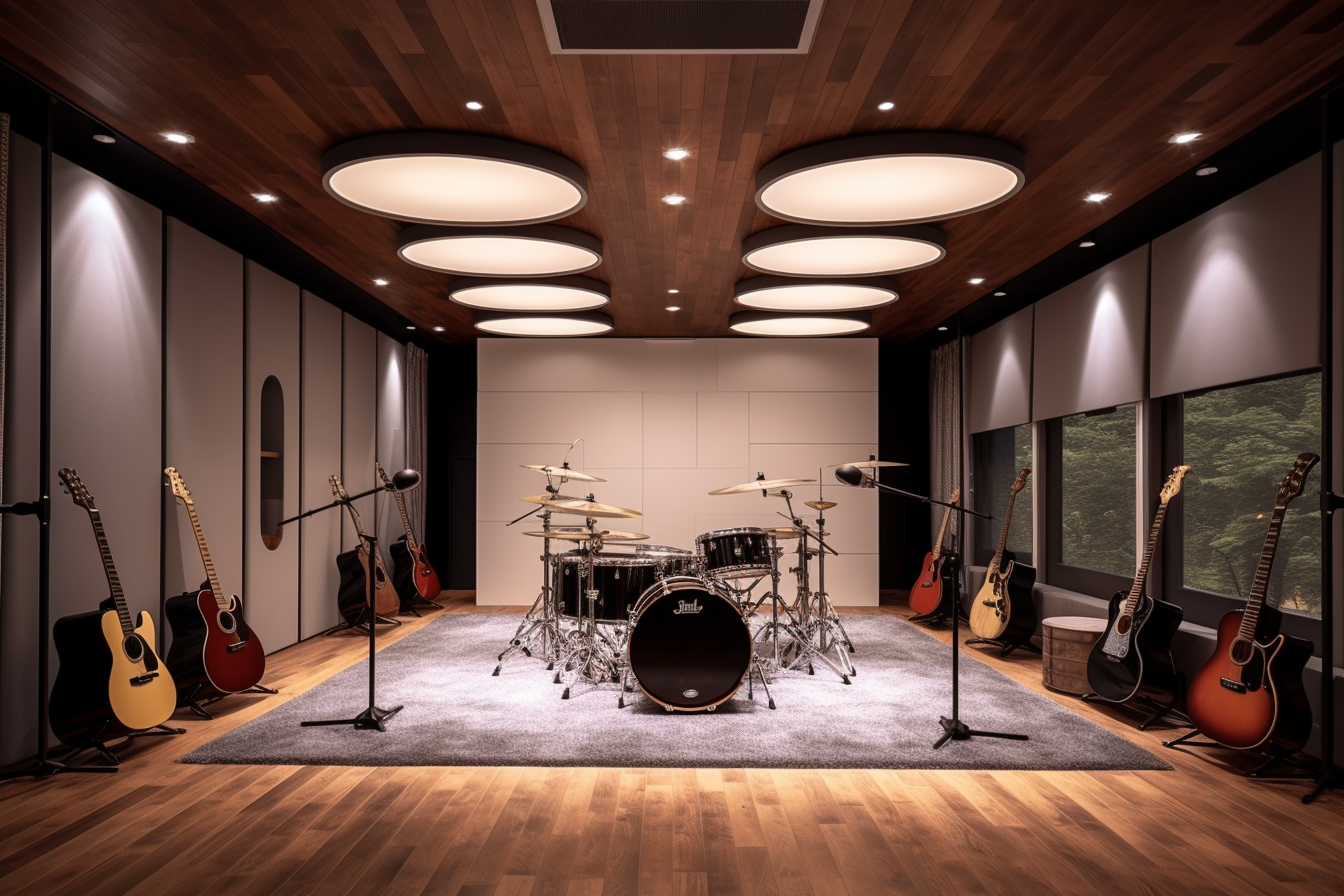
Designing a recording studio requires blending acoustic optimization with aesthetics to create a space that fosters creativity and technical precision. Whether you’re building a home studio or a professional space, key considerations like soundproofing, room layout, and equipment placement play crucial roles. Below are practical and inspiring ideas to guide the design of an effective recording studio.
1. Prioritize Soundproofing
Soundproofing is essential for keeping unwanted noise out and ensuring recorded sound remains pure. Consider these techniques:
- Double Walls and Floating Floors: Use isolated wall and floor designs to prevent sound transmission.
- Acoustic Panels: Install panels made from materials like fiberglass or foam to reduce reflections.
- Seal Windows and Doors: Use acoustic seals to block noise leakage.
2. Optimize Room Acoustics
Room acoustics determine how sound behaves inside the space. Focus on:
- Bass Traps: Place bass traps in corners to manage low-frequency build-up.
- Diffusers: Install diffusers to scatter sound waves and create a balanced environment.
- Absorptive Materials: Cover walls and ceilings with absorptive panels to control reflections.
3. Choose the Right Layout
The layout should enhance workflow and comfort:
- Control Room and Live Room Separation: Separate these spaces with a soundproof window for visual connection without sound interference.
- Ergonomic Setup: Arrange monitors, mixing consoles, and other equipment within easy reach to improve productivity.
- Furniture Placement: Use minimal yet functional furniture to maximize space and comfort.
4. Incorporate Visual Aesthetics
A visually appealing studio boosts creativity and sets the mood for recording sessions. Consider:
- Lighting: Use dimmable LEDs or colored lighting to create a dynamic ambiance.
- Thematic Decor: Add artwork or a specific color scheme to match your studio’s vibe.
- Natural Elements: Incorporate plants or wooden finishes for a calming effect.
5. Invest in Quality Equipment
High-quality recording equipment is the backbone of a functional studio:
- Microphones and Monitors: Choose versatile options to handle different recording styles.
- Cables and Interfaces: Use durable, high-quality cables and interfaces to maintain audio integrity.
- Backup Systems: Keep additional storage and power backups to avoid disruptions.
6. Focus on Lighting and Ventilation
Both factors contribute to comfort during long sessions:
- Lighting: Ensure adequate natural light where possible; supplement with adjustable artificial lighting.
- Ventilation: Use a quiet air conditioning or ventilation system to maintain air quality without affecting sound.
7. Flexible Spaces
Design multi-purpose areas to maximize utility:
- Isolation Booths: Small, acoustically treated spaces for vocals or instruments.
- Modular Furniture: Use moveable furniture to reconfigure the room for different needs.
8. Budget-Friendly Tips
For those on a budget:
- DIY Acoustic Panels: Build panels using inexpensive materials like rock wool and wooden frames.
- Repurpose Furniture: Use thick rugs or bookshelves to absorb sound.
- Gradual Upgrades: Invest in essential equipment first and upgrade over time.
Conclusion
The perfect recording studio strikes a balance between technical functionality and creative comfort. By focusing on soundproofing, acoustics, and thoughtful design, you can create a space that meets both professional and personal needs. Whether it’s a small home studio or a professional recording space, these ideas offer a solid foundation to bring your vision to life.